
VIRTUAL ROBOT SIMULATOR
The second sub-project in the Activity- Led Learning Project was to create a virtual robot simulator using programming language. In our case that programming language was Python. Our team was required to create, design and develop a simulator with a graphical user interface. In addition we were required to use GitHub to manage our developement of the program.
Our group discussed and finalised the set of requirements for the simulator. An individual selection of features to develop were agreed and assigned individualy to members of our group. Our idea was to create a "city tour" simulato with collectable objects.
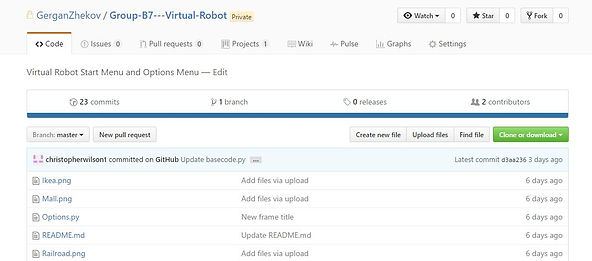
Our first task was to set up GitHub. We set up our repository and familiarised ourselfes with the website and it's workings.
My first task was to create a Start Menu with a Start and Exit buttons. On clicking Start another window will be opened and the user will have to choose between two different difficulties. When he chooses the appropriate difficulty, the simulator will run, based on the setting choosed by the user.
To do the start menu, I used the Python module, called Tkinter. It is a module, which is used for creating Graphical User Interface, also known as GUI. After a research I started to work with Tkinter.
I had created a locked window with the appropriate resolution. Now I needed to add a label, which would stay in the middle and say: "Virtual Robot Simulator".
Now I needed to add the buttons and add some options to them. The buttons wouldn't stay in the place I wanted them to stay, so I used pack() to place them under the label and make them centered.
I had to assign functions to every button. So I made two functions. One for the Start Button, which would open the next window, and one for the Exit Button. I then assigned the functions with the command option.
Here is the full working code:
I needed to create the second window on a new file. I again used the same structure and used two buttons. Each button will set different difficulty to the main program. I again assigned functions to the buttons using "import File.py".
I then made a couple of tests and the program was working as expected. I uploaded it to GitHub. I then did some small corrections to the code, using the GitHub editor.
Here is the fully working code:
I was then assigned a different task - to create a moving object, which will be collected by the robot. I decided to use a star as this object.
I put the images in python. Then I create the two classes I am going to need.
The only thing left to do is to add a line in main loop for the display message and make the collision code.


Here is the final result, when I implemented my own program into the main program in GitHub. The members of my group, allocated with creating the map and the robot movement, did a great job. I needed to do some testing, before i managed to integrate it fully into the main code , but after a couple of attempts, this was the result:


The program was working flawless, which allowed another member of my group to create the score board. I then created a similar code to add an automatic car, which is moving horizontally. If the robot makes a collision with the car, a message will be displayed, saying: "You've crashed". This message will also appear when you crash into a building or reach the boundaries of the map.
The project provided me with a with range of skills and knowledge that will be later requireired to enter employment in IT sphere. I also acquire a lot of skills and knowledge in programming and software developement. This project, including the Lego RobotChallenge project, helped me understand the basic oncepts of computer science.